So here's my art journal calendar for December, and in the nick of time too! I made the background with Distress paints in Weathered Wood and Broken China, and when will wet sprayed them with Glimmer Mist Silver and Lindy's Stamp Gang spray Sea Asters. Love love love the effect, it's sort of like a marble. The month was stamped and then painted over with a Molotow red maker and the year I just wrote with the same marker.
The stamps on top and bottom are a border by Lost Coast stamps, brandnew from Santa, and embossed with Bridal embossing powder. Gorgeous don't you think?!
This year I got totally addicted to snowmen, so I had to add one on my spread. I cut it out of an old book and gessoed it so it would look white. Glued it down with matt gel medium and painted the nose, eyes, mouth and buttons on. Also painted the twig arms. Around my snowman I made a shadow with a black gelato so it would stand out more against the background. Now the hat is another day, which is due to lack of room on my page LOL! I initially wanted to give him a top hat....
I diecut the starts and stickled them with Distress Stickles Pumice Stone. Totally finished off a bottle of Distress Stickles Pumice Stone, really had to wring it out in order to stickle the last of the stars LOL! I do live the effect that the Distress Stickles aren't as shiny as the regular Stickles.
Hope you like my spread; I enjoyed making it and have decided to stop my calendar challenge; I started in March 2013 and in fact have sort of had enough of doing calendar pages, so December is a nice month to
pack it in. No worries, there is so much inspiration to do other stuff, I won't get bored yet LOL!
Have a great last couple of days in 2014! Hugs Frea
Challenges:
http://disdigidesignschallenge.blogspot.nl/2014/12/any-winter-holiday-challenge.html
http://sweetstampinchallengeblog.blogspot.nl/2014/12/anything-goes.html
http://artbymiranchallenge.blogspot.ca/2014/12/challenge-22.html
http://qkrstampede.blogspot.co.uk/2014/12/qkr-stampede-challenge.html
http://artisttradingpost.blogspot.co.uk/2014/12/lets-celebrate.html
http://www.trimmiescraftchallenge.blogspot.nl/2014/12/last-challenge-of-2014-challenge-291.html
http://drsdesignsblog.blogspot.nl/search/label/%E2%97%8B%20Challenges
http://milkcoffeechallenge.blogspot.nl/2014/12/make-it-sparkle.html
http://stamplorations.blogspot.nl/p/stamplorations-anything-goes-challenge.html
http://sweet7challenge.blogspot.nl/2014/12/challenge-8-winter.html
zondag 28 december 2014
zaterdag 27 december 2014
Loslaten, or translated; Letting go......
Hello girls, it's been a while, but then again, this is such a busy month. I hope you all enjoyed the holidays! Today I have a spread for you with my brandnew Paper Artsy Jofy stamps that Santa brought. The word is Dutch for 'Letting go'. It is something I have been working on this past year, and even though I sometimes still falter, I am getting the hang of it. The background was gessoed first and then I applied some light pink chalk paint here and there. Then I sprayed some Glimmer Mist Silver and let is drip down. At the bottom of the spread I scraped some Paper Artsy Crackle medium on and after drying added mauve chalk paint which gave a lovely fine crackle here and there.
In my stamp set was this stamp strip with a fine checkered border; by stamping it slightly away from the bottom of the spread and adding poles with a black pen, I made it into a fence. In the background I stamped a very fine script stamp. I coloured the 'flowers' with transparant acrylic paints. The words were embossed with Sterrenstaub embossing power Chameleon. I added fine lines with a black felt tip pen and some shading with an Inktense pencil, which I also did around the flowers. Around the border of the spread I added a grey shadow with a glato. Hope you like my spread. I will add some detail pictures.
Hugs, Frea
Challenges:
http://creativeknockouts.blogspot.nl/2014/12/69-anything-goes-lacy-sunshine.html
http://sweetstampinchallengeblog.blogspot.nl/2014/12/anything-goes.html
http://cutecardthursday.blogspot.nl/2014/12/challenge-353-anything-goes.html
http://trimmiescraftchallenge.blogspot.nl/2014/12/last-challenge-of-2014-challenge-291.html?showComment=1419715973529#c6760075421360933056
http://blog.docerelashop.com/2014/12/design-team-post-challenge-75-anything.html
http://divasbydesignchallenge.blogspot.nl/2014/12/dec-17th-team-b-anything-goes.html
http://thepapershelter.blogspot.nl/2014/12/christmas-challenge-anything-goes.html
http://pennyschallenges.blogspot.nl/2014/12/welcome-to-pennys-challenge-208.html
http://scrappers-delights-challenge-blog.blogspot.co.uk/2014/12/challenge-37-last-challenge-of-year.html
http://artbymiranchallenge.blogspot.ca/2014/12/challenge-22.html
vrijdag 14 november 2014
donderdag 13 november 2014
Stampotique challenge 'spotlight'.
For the Stampotique challenge 'Spotlight' I made this spread in my selfmade journal. I started out by using some washi tape. I used some modeling paste and a stencil in the middle and in the corners a doily stencil and Deco Art Graphite Paste in order to make some texture. I then covered it all with Fresco Finish paint. After nearly drying I took a baby wipe and wipes the paint back, revealing parts of the stenciling.
I took a scrap piece of paper, painted it mauve with Fresco Finish and then used their crackle glaze and a pink colour on top. I cut out the circle and the tag. I stamped the Stampotique girl on the background and coloured in that part within the circle with Copic markers, and then glued the circle down. I added some Glossy Accents on the heart of her shirt. Around the circle I made some shading with Inktense pencils. I used the same pencils to make the ground she's standing on.
With some Lindy's Stamp Gang I coloured a piece of cambric. I used the leftover on my mat on the leftover piece of paper from the tag and circle. I then layered the pieces and stitched them together on my sewing machine after which I wrote down the sentiment on the tag. All the shading was made with the Inktense pencils and to was the edging around the pages. I used some gel medium to apply some glass glitter on top of the tag. As a final touch I made some splatters with the LSG spray I used to colour the cambric.
I hope you like my spread; I thought it turned out kind of cool. So I'm entering this spread into the Stampotique Designer Challenge. Have a great day! Hugs Frea
http://stampotiquedesignerschallenge.blogspot.nl/2014/11/sdc-november-2014-challenge-links.html
dinsdag 11 november 2014
Foamboard is 'da bomb'!
I just discovered this foamboard, and it's possibilities are near enough endless. One can build storage space with it, it cut's like butter, is light yet very strong, it embosses and cuts with the thick big dies, and you can paint it and work it with all sorts of art mediums. You may have read about the workshop I did with Andy Skinner some weeks ago in which we workes with this stuff. Now I've already shown you one of the two little projects I made (if you haven't seen it yet, do scroll down a couple of posts and you will find it), so here's the second one. Sorry about the colour of this first picture; it was made at night and the lighting was not so good. The true colour is more like the other pictures.
The background piece and heart were first painted in black gesso, and then I used the Deco Art crackle paint. Now this is a white think paint, which crackles in a manner best compared with the oldfashioned enamels used in ancient times on cooking pans and strainers. Sometimes in grey of green colours. After letting the paint airdry (don't use your heating tool on it, it will crackle, but I find the crackle much better when airdried. I first slightly sanded it to make it flatter and then used blac antiqueing cream by Deco Art. Now you just apply the stuff and let it dry. Then you use a piece of dry kitchen roll and rub it off. After that I stamped it using Ranger archival ink and a dictionary stamp. I then added some Quinacridone Gold which is transparant, to give it a slightly rusty effect. On the edges I covered some of the crackled chips a coat of Burned Umber which makes it look like the enamel has chipped off revealing the metal underneath. Love the effect, it looks so darn real.
On the top piece I started out with white gesso, and after drying I added some sand structure medium. After drying I painted the entire piece with transparant Paynes Grey, which is a blueish grey colour. Because of the transparancy the white of the gesso shimmers through here and there which is exactly what you want. After drying you make a fine splatter with a white acrylic paint. Then the piece is painted with Red Iron Oxide and Quinacridone Azo Gold paints. here and there you can mix some Paynes Grey in to make darker patches.
The heart was also painted with the Crackle paint, but in this case I used Antiquing Cream Green instead of the black I used in the background. I also added some Quinacridone Azo Gold, again to make it rusty looking.
This element was cut and embossed with a Tim Holtz die, also from this foamboard. That make it considerably thinner. This element was given layer upon layer, and the endresult is an effect as if this piece is zink metal which was rusted. It is this piece that I am most happy with. I think the result is very convincing.
So, I'd advise you to check out the new Deco Art line, brilliant stuff and very affordable as well.
Hugs Frea
Challenges:
http://www.simonsaysstampblog.com/mondaychallenge/?p=2141
http://notjustcardschallenges.blogspot.co.uk/2014/11/challenge-6.html
http://lovetocreatechallenge.blogspot.nl/2014/11/challenge-141-anything-goes.html
http://www.sparklingblackrose-craftmylife.blogspot.co.uk/2014/10/all-crafts-challenge-octobernovember.html
http://www.ttcrd.blogspot.nl/2014/11/ttcrd-challenge-nov11-nov17.html
http://partytimetuesdays.blogspot.ca/2014/11/ptt-challenge-189-anything-goes-theme.html
http://www.craftysentiments.blogspot.nl/2014/11/anything-goes-challenge.html
http://thepapergirlschallenge.blogspot.nl/2014/11/challenge-67-mixed-media.html
http://thepapernestdollschallenge.blogspot.nl/2014/11/ch-23-anything-goes.html
http://www.flonzcraft.com/vsc/?p=1918
http://anythingbutacard.blogspot.ca/2014/11/whatever-strikes-your-cre8time-fancy.html
http://thatcraftplaceblog.blogspot.nl/2014/11/new-challenge-anything-goes.html
maandag 3 november 2014
I love the Jofy style!!
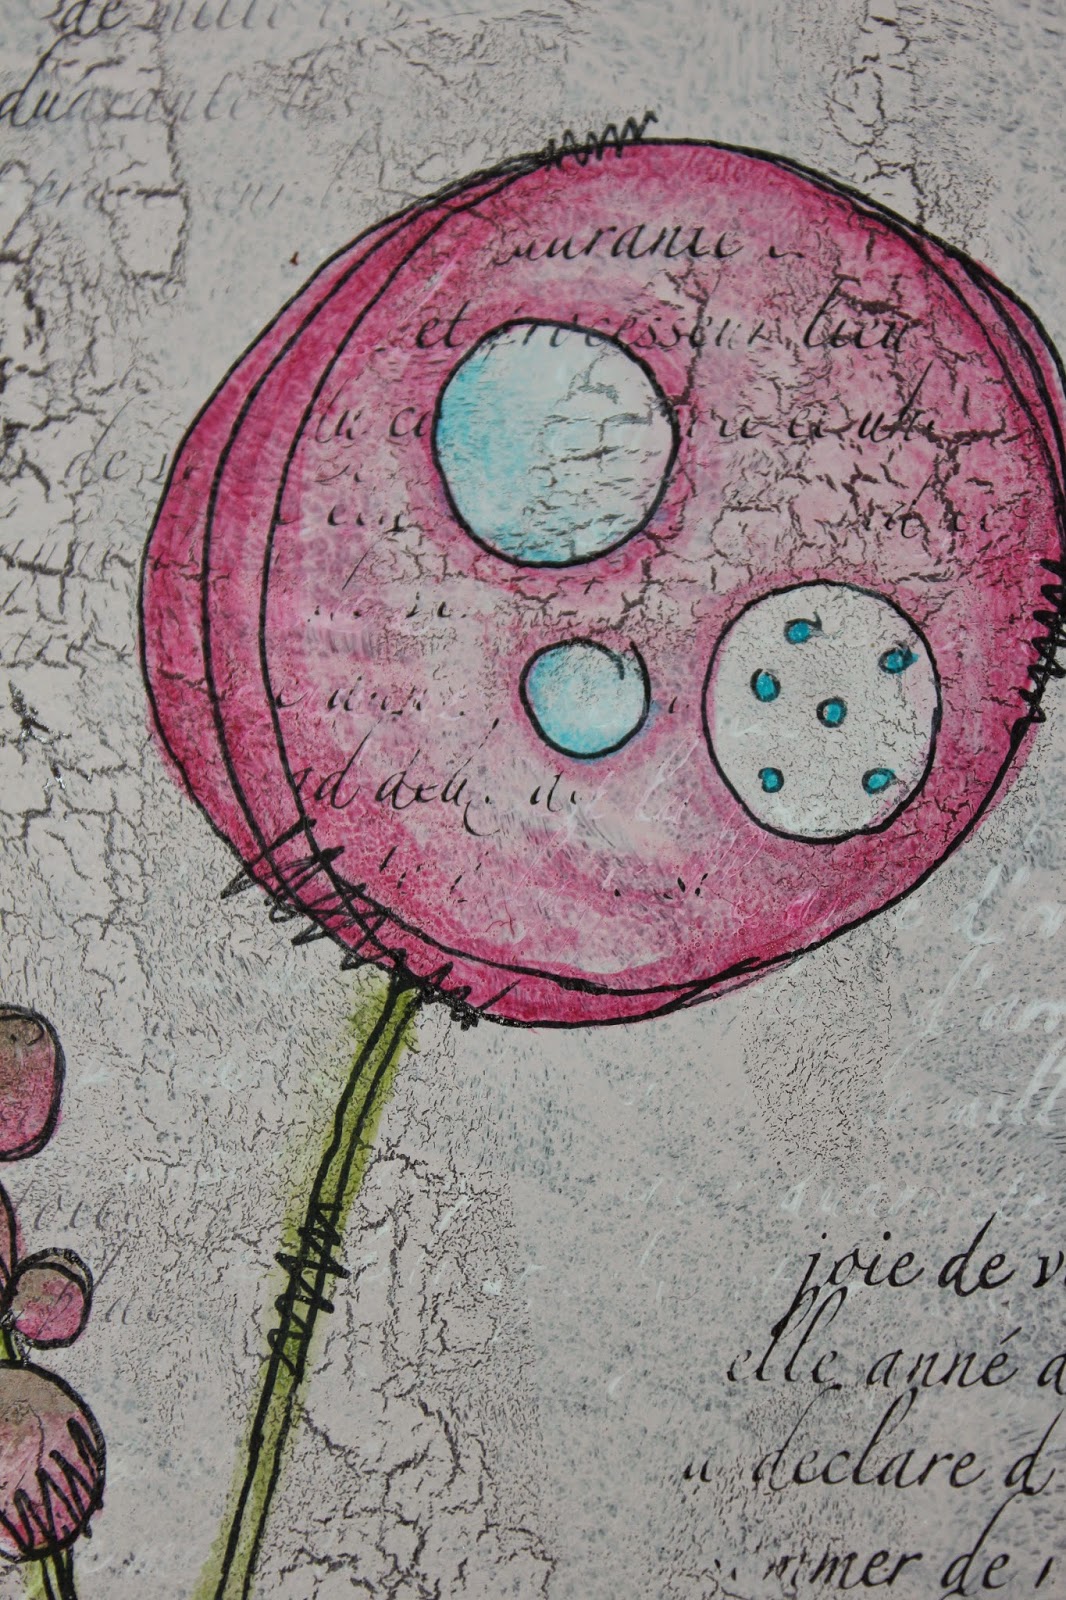
Hi girls, don't you just love those Jofy stamps? The're so simple really, but love the effect of them. Now I bought myself some matching Fresco Finish paints and the Fresco Finish crackle medium; just love the effect of this medium. The crackle is so fine, just great! So I painted the background with a taupe colour and after adding crackle medium ust here and there, I topped it with a light pink colour. I coloured the flowers in with some transluscent Fresco Finish paints.
After doing the background I stamped some scriptstamp on, first with a white paint and then in black ink.
Since the paints I used for the flowers are transluscent you can paint straight over them without loosing the lines. Love the effect!
So pretty don't you think?!
So, heading for bed now, tomorrow's another day working. Hugs Frea
Chlalenges:
http://www.sparklingblackrose-craftmylife.blogspot.co.uk/2014/10/all-crafts-challenge-octobernovember.html
http://craftcreatoins.blogspot.nl/p/new-challenge.html
http://notjustcardschallenges.blogspot.co.uk/2014/10/challenge-5.html
http://thepapergirlschallenge.blogspot.nl/2014/11/challenge-67-mixed-media.html
http://www.throughthepurplehazechallenges.blogspot.nl/2014/11/66-tattered-lace-anything-goes.html
http://anythingbutacard.blogspot.ca/2014/11/starting-november-with-cre8time-fun-for.html
http://eclecticellapu.blogspot.co.uk/2014/11/wowswers.html
http://pennyblackatallsorts.blogspot.nl/2014/11/november-challenge-anything-goes.html
http://www.scribbleandscrapcrafts.blogspot.co.uk/2014/10/challenge-30-and-new-5-day-deal.html
http://sentimentalsundays.blogspot.nl/2014/11/challenge-231-anything-goes.html
zondag 2 november 2014
Weekend has come and gone. On the upside, I got some crafting done!!
And here it is, my spread.
I started out with Fresco Finish paints for the background and used mat medium to glue down some material in the corners. I emphasized the structure by rubbing Inca Gold Hematite onto the fabric. Then I used Golden Molding Poaste through a stencil and after drying coloured it with Pan Pastel Turqoise. I also added shading with a grey Pan Pastel.
I stamped a little fairy and coloured her wings with Daler Rowney Pearlescent ink and the bubble on which she's sitting with Glimmer Mist Pearl.
In the same stamp set were these scrolls which I stamped with Indigo Blue Flitter glue and added gilding flakes. The 'Fairy dust' was stamped and embossed with gold embossing powder. And then I did some distresssing with Black Soot Distressing ink.
I do hope you like my spread; I thouroughly enjoyed making it. Have a great week!! Hugs Frea
Challenges:
http://wowembossingpowder.blogspot.co.uk/2014/11/november-2014-monthly-challenge-and.html
http://challengeupyourlife.blogspot.nl/2014/11/challenge-1-anything-goes.html#.VFarJVfVSb4
http://alteredeclectics.blogspot.co.uk/2014/11/oh-my-word.html
http://imagination-craftschallenges.blogspot.co.uk/2014/11/imagination-crafts-november-challenge.html
http://memascrafts.blogspot.nl/2013/11/november-challenge.html
http://rheddscreativespirit.blogspot.co.uk/2014/11/november-challenge.html
http://thecraftingcafe.blogspot.co.uk/2014/11/november-challenge-not-card.html
Abonneren op:
Posts (Atom)