donderdag 12 november 2015

I drew a face.....

On the Internet I saw this wonderfull idea where you draw a face over a collaged background with old book papers and newspaper scraps. I loved the result so much that I wanted to make one myself, but for some reason other things kept coming in between.
But then I saw this beautiful photograph on Pinterest and decided I wanted to draw her, so here she is.

I drew her contours and facial features with a regular pencil first, and then I used pastel pencils to shade her and draw her hair. The white of the eyes was made with a white Posca pen en I gave lips, nose, and chin highlights with some white acrylic paint.
I do hope you like her. I was pretty pleased with the endresult.

maandag 21 september 2015

Inspired by France Papillon

After a week of bed with a terrine col I finale manager to do Some crafting. The background on this spread was made after France's last video on You Tube. Love the way mine turned out. However, the spread looks quite different because  I used Some Finnabair stamps. Hope you like it.


zondag 14 juni 2015

Dina Wakly inspired

This week I am showing you a Dina Wakly inspired face. The background is also typically Dina's style.
I painted the face with acrylic paint and drew with the Stabilo All pencil, just like she does. I must admit that I drew the face with a regular pencil first and used the Stabilo afterwards, because I am having trouble with the black smudges this pencil gives when it touches fluids. Dina doesn't mind, and I must admit that on her faces it seems to fit, but it just doesn't fit my style. I do like the sketchy effect though that it gives as opposed to working with a marker.
That heart stamp in the left corner is my new Limor Webber stamp and I love it!!
 Hope you like this weeks' page. Have a great week, hugs Frea
Challenges:
http://welove2create.blogspot.co.uk/2015/06/challenge-12-anything-mixed.html
http://thatcraftplaceblog.blogspot.co.uk/2015/06/new-challenge-anything-goes.html
http://www.scribbleandscrapcrafts.blogspot.co.uk/2015/06/challenge-46.html


zaterdag 6 juni 2015

Flowerfaces, inspired by a video of Shawn Petite

This spread was inspired by a video on You Tube by Shawn Petite. If you don't know her I strongly advise you to check her out, she makes wonderfull art.
So the background was made the way she did in this particular video.
This is how I started; I glued bookpages from an old book down and from an old leaflet about babycare. I wanted to keep some of the pictures showing through, but I'm afraid that plan fell apart.
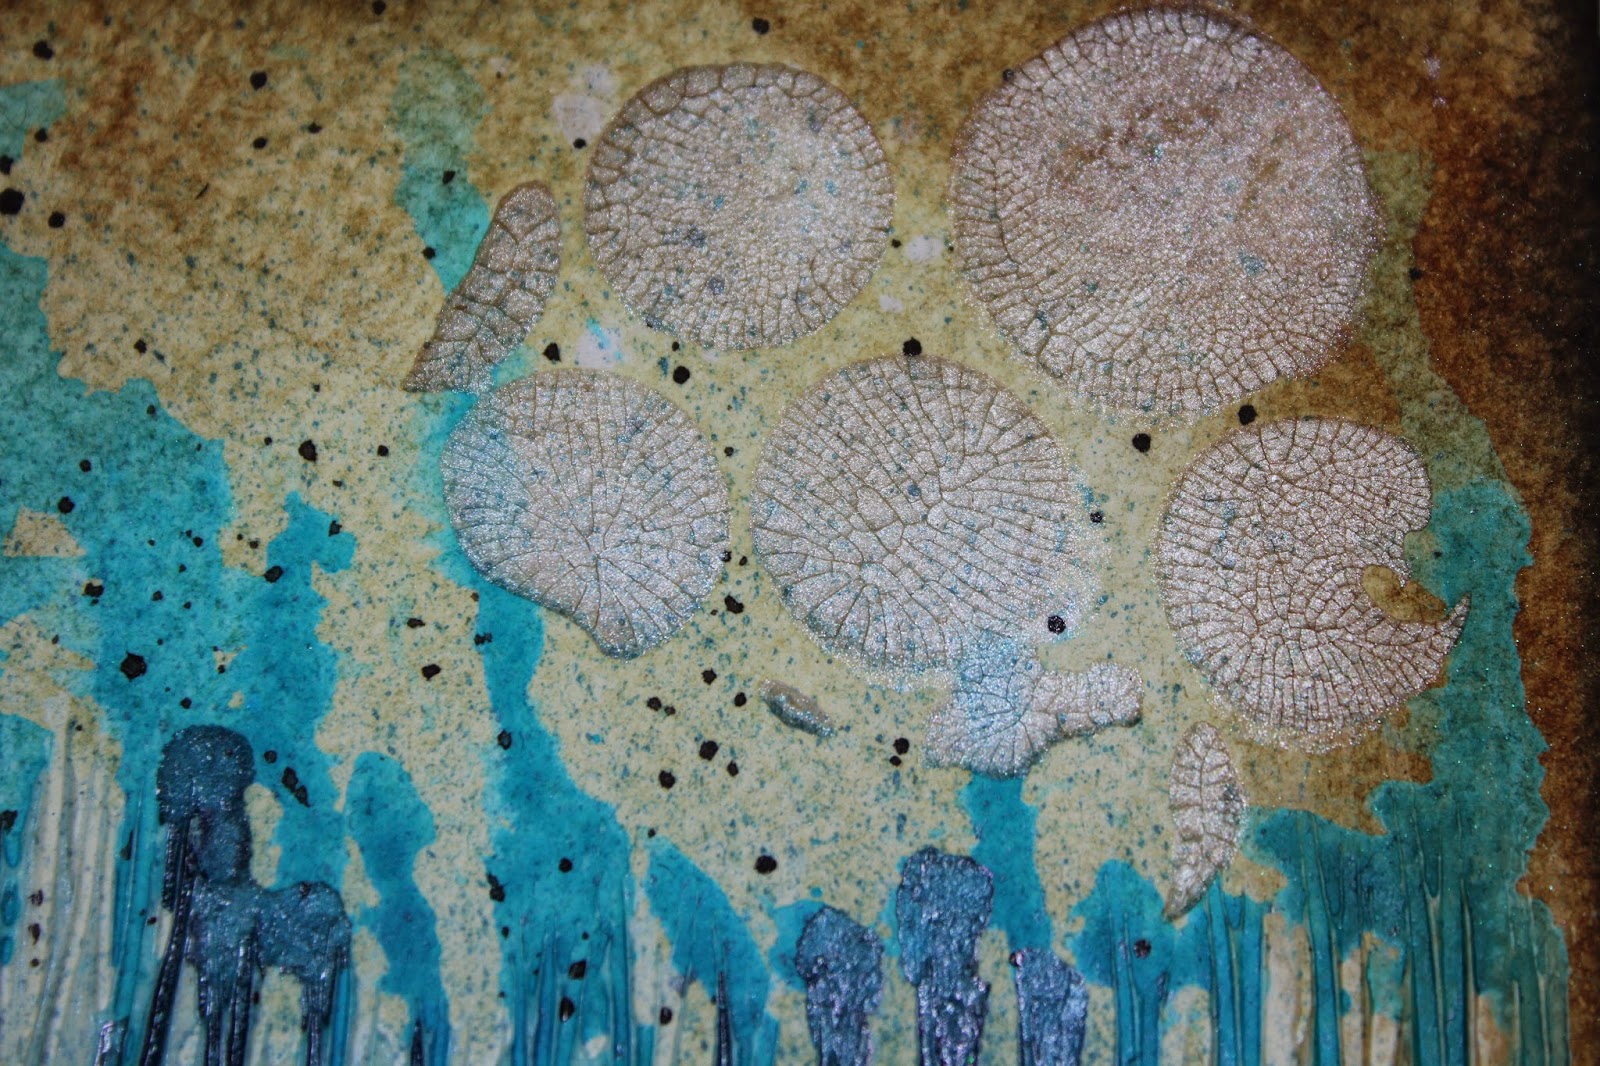
I then scraped some gesso on with a palette knife and after drying did the same with some greens and blues. I drew out the stems and leaves with a pencil and stamped the flowers. They were coloured in with Inktense pencils. Along the bottom I stamped with an Indigo Blu stamp for some shrubbery.
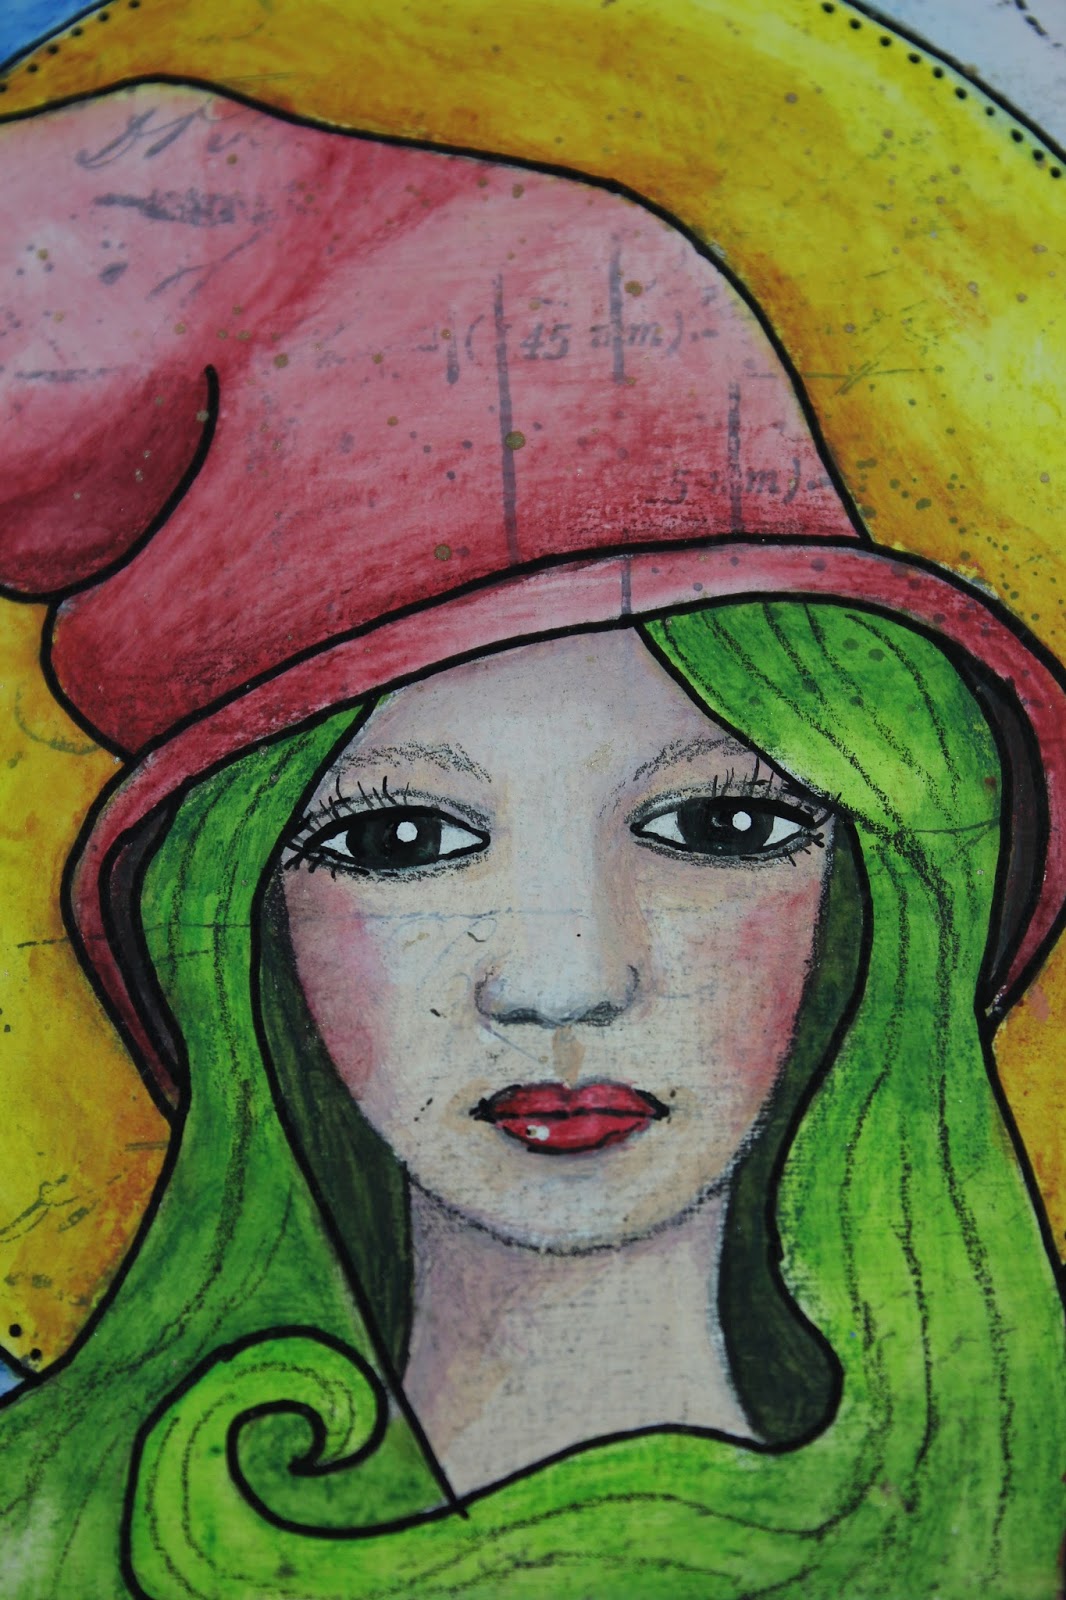
I then made two circles, one the same size of the smaller and one of the larger circle stamp. Inside I painted mixed media faces with acrylic paint. The petals were cut out of a gelli plate print with a Magnolia flower die and glued on. Shading was done with a brown Pitt pen.
I stamped some gesso with bubble wrap here and there, and stamped the sentiment with a typewriter stamp set. The wavy bit was done with Archival ink and a stencil.
Hope you like my spread. I thank Shawn for her inspiration! Love her videos! Have a nice day you all, hugs Frea


vrijdag 5 juni 2015

Little witch in my first Moleskin journal.

Hello my lovelies, it's been a while, but I'm back! I have spent two weeks in a very rainy Portugal in May, and what do you do when it's pouring outside? Right, you craft! I had bought myself my very first Moleskin journal and I love it! Since we were flying I had very limited space for crafting stuff, and it was so surprising to find what you can do with limited resources. So I made this little witch. I had seen a picture on Pinterest that inspired me. After gessoing my page I drew everything out in pencil and then coloured it all in with Inktense pencils.Love the vibrancy of the colours.
The little face was done with acrylic paints and Neocolor II crayons. Love those too!
You can still see the stamped background here and there, really like that layered effect.
After drying I drew all the lines again with a black Posca pen, the one with the fine nib. I really like how she turned out, especially taking in mind that the face is pretty small. It measures about an inch in hight from the chin to the rim of the hat. After drying I doodled a little here and there and made some circles with a bottle cap from my deodorant.
The cobweb and spider where just drawn on by me at the very end. I felt a with needed either a black cat (which I found too difficult to draw) or a spider, which I can manage LOL!
I hope you enjoyed my little spread. More to come soon!! Have a great weekend, hugs Frea
Challenges:
https://acreativeneed.wordpress.com/2015/06/05/6836/
http://alteredeclectics.blogspot.co.uk/2015/06/new-month-new-challenge.html
http://slslinesdigitalstamps.blogspot.ca/2015/05/challenge-9-anything-goes-with-twist-of.html
http://papercreatorscrafts.blogspot.co.uk/2015/06/challenge-39-challenge-winner.html
http://www.throughthepurplehazechallenges.blogspot.co.uk/

woensdag 11 maart 2015

Hi ladies, it's been a while....lots going on right now.

I made this spread for the Stampotique challenge; numbers. My inspiration came from France Papillon for the background. I used Lindy's sprays and Golden modeling paste which I coloured with LSG Magicals. Then I glued tissuepaper all over the spread.
I coloured my Stampotique stamp with Copics.
The frame around my Stampotique girl as well as the feathers are wood and were first painted black, and then I added Deco Art crackle paint. After drying I used Deco Art patina on it. I painted some of the chips in raw umber as if they chipped off. Both the frame and the feathers got some shading with an inktense pencil.
I outlined part of the raised surface of the modeling paste with an inktense pencil and added sequins.
The text was typed on my old trusted typwriter.
I hope you like my spread. Almost weekend!! Hugs Frea
And of course I made this spread for the Stampotique Designer Challenge 185.
http://stampotiquedesignerschallenge.blogspot.nl/2015/03/sdc185-use-numbers-or-number.html


maandag 26 januari 2015

What if I fall?? Oh but my darling, what if you fly??

Don't you just love fairies?? I do, and I couldn't resist this gorgeous stamp by Lost Coast. I made a background with a brayer and Fresco Finish paints. Then I did some stamping and I used a stencil with some dark Fresco Finish paint.
With the border of a Dylusion stencil and sparkle medium by Imagination Crafts I made this border on both pages.
In a magazine called Flow there were these transparent stickers with some lovely quotes amongst which this one. I added it to the spread en to take away the shine from the plastic I added two layers of matte gel medium on top. Now it actually looks like I stamped it straight onto the background. 
Now both the fairy and the dragonflies were stamped with embossing powder by Lindy's Stamp Gang Midnight Teal. Love that colour and it really matched the colours of the spread.
En thoroughly enjoyed making this spread. wishing you a wonderfull week, hugs Frea
Challenges:
http://avenue613.blogspot.nl/2015/01/challenge-108-anything-goes-woptional.html
http://stampedblessings.com/2015/01/amusing-challenge-anything-goes-15/
http://lilpatchofcraftyfriends.blogspot.com.au/2015/01/challenge-2.html
http://scribbleandscrapcrafts.blogspot.co.uk/2015/01/challenge-36-anything-goes-and-candy.html
http://kitandclowder.ning.com/january-challenge

zondag 11 januari 2015

Artists who seek perfection in everything are those who cannot attain it in anything.

I saw a video by France Papillon, whom I really admire, and it inspired me to make this spread. I started out applying texture paste in the middle of the spread and using one of those rubber tools to scrape texture in it. Then I applied turqoise acrylic paint, sprayed it with water and let it run down the page both up and down. After drying I applied a turqoise spray ink by Avec and did the same. I then used Distress inks to colour the background, Antique Linen, Vintage photo and Walnut stain. On the edge I used a little Black Soot.
The circles were made with Finnabair Platinum Crackle paste. I also spattered some India Ink on the spread.
I sprayed some fabric and Gips fabric with the Avec spray and Gossamer Gold by LSG and added them in the middle of the spread. I also added some rusted metal pieces.

I typed the quote on my trusted old typewriter and I added some Walnut Stain on the edges. Love this quote.
I hope you enjoyed my spread. Have a great week, hugs Frea
Challenges:
http://lilpatchofcraftyfriends.blogspot.com.au/2015/01/challenge-1.html
http://www.scribbleandscrapcrafts.blogspot.co.uk/2015/01/challenge-35-always-anything-goes.html
http://sentimentalsundays.blogspot.nl/2015/01/challenge-241-winter-sparkle.html
http://artbymiranchallenge.blogspot.ca/2015/01/challenge-23-anything-goes.html
http://wagsnwhiskersrubberstamps.blogspot.nl/2015/01/challenge-145-anything-goes.html
http://creativecraftcottage.blogspot.co.nz/2015/01/challenge-31-anything-goes-7th-january.html
http://myartisticadventureschallenge.blogspot.nl/search/label/challenges
http://rheddscreativespirit.blogspot.co.uk/2015/01/januarys-challenge.html
http://sassystudiodesigns.blogspot.nl/2015/01/dtbst-263-anything-goes.html

vrijdag 2 januari 2015

Love history and love vintage!

I just love history and vintage, so this spread is really not a surprise. I have all this lovely glitter stuff that is such a trend nowadays so I went all the way using it. I started by gessoing my pages and gluing tissue tape in the middle. Then I used matte medium to glue down torn pieces of an old book after which I added a layer of transparent gesso. I hoped that three layers would be enough to stop the soaking of this more than horrible paper in the small Dylusions art journal, and so it was. Then I sprayed Dylusions Polished Jade in combination with Lindy's Stamp Gang Gossamer Gold onto my spread, and what a gorgeous combination that turned out to be. Love the depth of the green against the brown gold.
The vintage photo I downloaded from the Internet as a free download. I stamped some vintage images on the background of the spread and then coloured some funny fiber stuff with Distress Stain Gathered Twigs and Tea Dye. The strips of paper were leftovers which I tore and distressed with Walnut Stain. I used a home rusted paperclip to hold them together. At the bottom right side of the photograph I added a round metal embellishment which I also rusted. In the middle I used some gel medium and added green micro beads. About halfway the drying process I formed it into a pearl shape with my fingers. Love the effect.
At the top of the strips I added Glass Glitter by Finnabair, and I just found these glittery 'needles' in all sorts of colours. Love them and I used gel medium again to glue them down.
Again a metal embellishment, but I took this picture to show you the gorgeous shimmer of the Gpssamer Gold on this spread in combination with that deep green. The pictures really don't do it justice, it's much prettier in reality.
Now I just have to show you a close up of this brilliant stamp I gave myself for Christmas; it's by Lost Coast, and I used Antique Copper embossing powder to stamp it. On top I added copper mica flakes.
And here's my little tag with journaling on it. 

I do hope you enjoyed my spread. Wishing you all a brilliant, happy, healthy and creative 2015!!
Hugs Frea
Challenges:
http://messymixedmediabyfrea.blogspot.nl/2015/01/love-history-and-love-vintage.html
http://blog.red-rubber-designs.com/2015/01/inspirational-201-new-stamps.html
http://artbymiranchallenge.blogspot.ca/2014/12/challenge-22.html
http://craftycatzweeklychallenge.blogspot.nl/2015/01/challenge-260-anything-goes.html
http://digistamps4joy-sa.blogspot.nl/2014/12/challenge-107-add-glitter.html
http://divasbydesignchallenge.blogspot.nl/2014/12/dec-17th-team-b-anything-goes.html
http://doubleclickconnections.blogspot.nl/2014/12/merry-christmas-eve-new-challenge-here.html
http://whimsyinspires.blogspot.nl/2014/12/whimsy-challenge-78-anything-goes.html
http://frillyandfunkie.blogspot.nl/2014/12/anything-goes.html
http://www.simonsaysstampblog.com/wednesdaychallenge/simon-says-anything-goes-11/