Posts tonen met het label Glimmer Mist. Alle posts tonen

zondag 28 december 2014

December 2014, still on time.....just!!

So here's my art journal calendar for December, and in the nick of time too! I made the background with Distress paints in Weathered Wood and Broken China, and when will wet sprayed them with Glimmer Mist Silver and Lindy's Stamp Gang spray Sea Asters. Love love love the effect, it's sort of like a marble. The month was stamped and then painted over with a Molotow red maker and the year I just wrote with the same marker.
The stamps on top and bottom are a border by Lost Coast stamps, brandnew from Santa, and embossed with Bridal embossing powder. Gorgeous don't you think?!
This year I got totally addicted to snowmen, so I had to add one on my spread. I cut it out of an old book and gessoed it so it would look white. Glued it down with matt gel medium and painted the nose, eyes, mouth and buttons on. Also painted the twig arms. Around my snowman I made a shadow with a black gelato so it would stand out more against the background. Now the hat is another day, which is due to lack of room on my page LOL! I initially wanted to give him a top hat....
I diecut the starts and stickled them with Distress Stickles Pumice Stone. Totally finished off a bottle of Distress Stickles Pumice Stone, really had to wring it out in order to stickle the last of the stars LOL! I do live the effect that the Distress Stickles aren't as shiny as the regular Stickles.
Hope you like my spread; I enjoyed making it and have decided to stop my calendar challenge; I started in March 2013 and in fact have sort of had enough of doing calendar pages, so December is a nice month to
pack it in. No worries, there is so much inspiration to do other stuff, I won't get bored yet LOL!
Have a great last couple of days in 2014! Hugs Frea
Challenges:
http://disdigidesignschallenge.blogspot.nl/2014/12/any-winter-holiday-challenge.html
http://sweetstampinchallengeblog.blogspot.nl/2014/12/anything-goes.html
http://artbymiranchallenge.blogspot.ca/2014/12/challenge-22.html
http://qkrstampede.blogspot.co.uk/2014/12/qkr-stampede-challenge.html
http://artisttradingpost.blogspot.co.uk/2014/12/lets-celebrate.html
http://www.trimmiescraftchallenge.blogspot.nl/2014/12/last-challenge-of-2014-challenge-291.html
http://drsdesignsblog.blogspot.nl/search/label/%E2%97%8B%20Challenges
http://milkcoffeechallenge.blogspot.nl/2014/12/make-it-sparkle.html
http://stamplorations.blogspot.nl/p/stamplorations-anything-goes-challenge.html
http://sweet7challenge.blogspot.nl/2014/12/challenge-8-winter.html


zaterdag 27 december 2014

Loslaten, or translated; Letting go......

Hello girls, it's been a while, but then again, this is  such a busy month. I hope you all enjoyed the holidays! Today I have a spread for you with my brandnew Paper Artsy Jofy stamps that Santa brought. The word is Dutch for 'Letting go'.  It is something I have been working on this past year, and even though I sometimes still falter, I am getting the hang of it. The background was gessoed first and then I applied some light pink chalk paint here and there. Then I sprayed some Glimmer Mist Silver and let is drip down. At the bottom of the spread I scraped some Paper Artsy Crackle medium on and after drying added mauve chalk paint which gave a lovely fine crackle here and there. 
In my stamp set was this stamp strip with a fine checkered border; by stamping it slightly away from the bottom of the spread and adding poles with a black pen, I made it into a fence. In the background I stamped a very fine script stamp. I coloured the 'flowers' with transparant acrylic paints. The words were embossed with Sterrenstaub embossing power Chameleon. I added fine lines with a black felt tip pen and some shading with an Inktense pencil, which I also did around the flowers. Around the border of the spread I added a grey shadow with a glato. Hope you like my spread. I will add some detail pictures.
Hugs, Frea
Challenges:
http://creativeknockouts.blogspot.nl/2014/12/69-anything-goes-lacy-sunshine.html
http://sweetstampinchallengeblog.blogspot.nl/2014/12/anything-goes.html
http://cutecardthursday.blogspot.nl/2014/12/challenge-353-anything-goes.html
http://trimmiescraftchallenge.blogspot.nl/2014/12/last-challenge-of-2014-challenge-291.html?showComment=1419715973529#c6760075421360933056
http://blog.docerelashop.com/2014/12/design-team-post-challenge-75-anything.html
http://divasbydesignchallenge.blogspot.nl/2014/12/dec-17th-team-b-anything-goes.html
http://thepapershelter.blogspot.nl/2014/12/christmas-challenge-anything-goes.html
http://pennyschallenges.blogspot.nl/2014/12/welcome-to-pennys-challenge-208.html
http://scrappers-delights-challenge-blog.blogspot.co.uk/2014/12/challenge-37-last-challenge-of-year.html
http://artbymiranchallenge.blogspot.ca/2014/12/challenge-22.html


woensdag 15 oktober 2014

Valentine in October???

It would seem that way LOL! Actually, my sweet friends Annika and Astrid and me had a nicve craft evening yesterdag and Annika thought a challenge might be nice. She thought of the colour red, Astrid added the idea of using hearts and I felt some glitter was in order. So there you are; Valentine's day!!
I tried something new for the background; I sprayed some Glimmer Mist silver and Grey and Black Dylusions on a gelli plate and layed my paper on it. Love the effect, it's totally different from spraying on your paper. Then I made the fishbone with a stencil and black gesso around the pages. I doodled a little here and there. Then I made the small glitter hearts with a stencil my sweet friend Astrid made for me and Viva Glitter Gel Hematit. I used a red Molotov Marker to edge the hearts and let one heart on each page stand out by using some Stickles.
The large hearts were made with an ancient Sizzlit Die set in multiple layers. Two of the hearts were embossed using embossing powder, one with ultra fine Flower Soft and one with Liquitex liquid ink.
At the top of one of the hearts on each page I added some red glitter parts en a sort of heap. Around the hearts I made a shading with a black carbon pencil.
I
I stamped tiny hearts all over the page, and on the left page made a few of them dimensional and shiny with a red Viva Pearl pen. With white Liquitex liquid ink I made splatters on the pages and with Black Soot Distress ink I distressed the pages on the edge.
Love the way this spread turned out. Hearts are cool, even in October LOL!! Have a great day, hugs Frea
Challenges:
http://www.sparklingblackrose-craftmylife.blogspot.co.uk/2014/10/all-crafts-challenge-octobernovember.html
http://artisticinspirationschallenges.blogspot.co.uk/2014/10/challenge-113-anything-goes-make-your.html
http://craftingfromtheheartchallengeblog.blogspot.nl/2014/10/challenge-40.html
http://craft-roomchallenge.blogspot.nl/2014/10/make-your-own-background.html
http://partytimetuesdays.blogspot.ca/2014/10/ptt-185-anything-goes-theme.html
http://www.ttcrd.blogspot.nl/2014/10/through-craftroom-doors-challenge.html
http://notjustcardschallenges.blogspot.co.uk/2014/10/challenge-4.html
http://sparklensprinklecreativechallenges.blogspot.nl/2014/10/october-2014-challenge.html
http://thepapernestdollschallenge.blogspot.nl/2014/10/ch-21-guest-designeranything-goes.html
http://dreamvalleychallenges.blogspot.ca/2014/10/challenge-92-anything-but-card.html
http://www.scribbleandscrapcrafts.blogspot.co.uk/2014/10/challenge-29-always-anything-goes-3.html

zaterdag 15 februari 2014

Donna Downey inspired art journal spread.

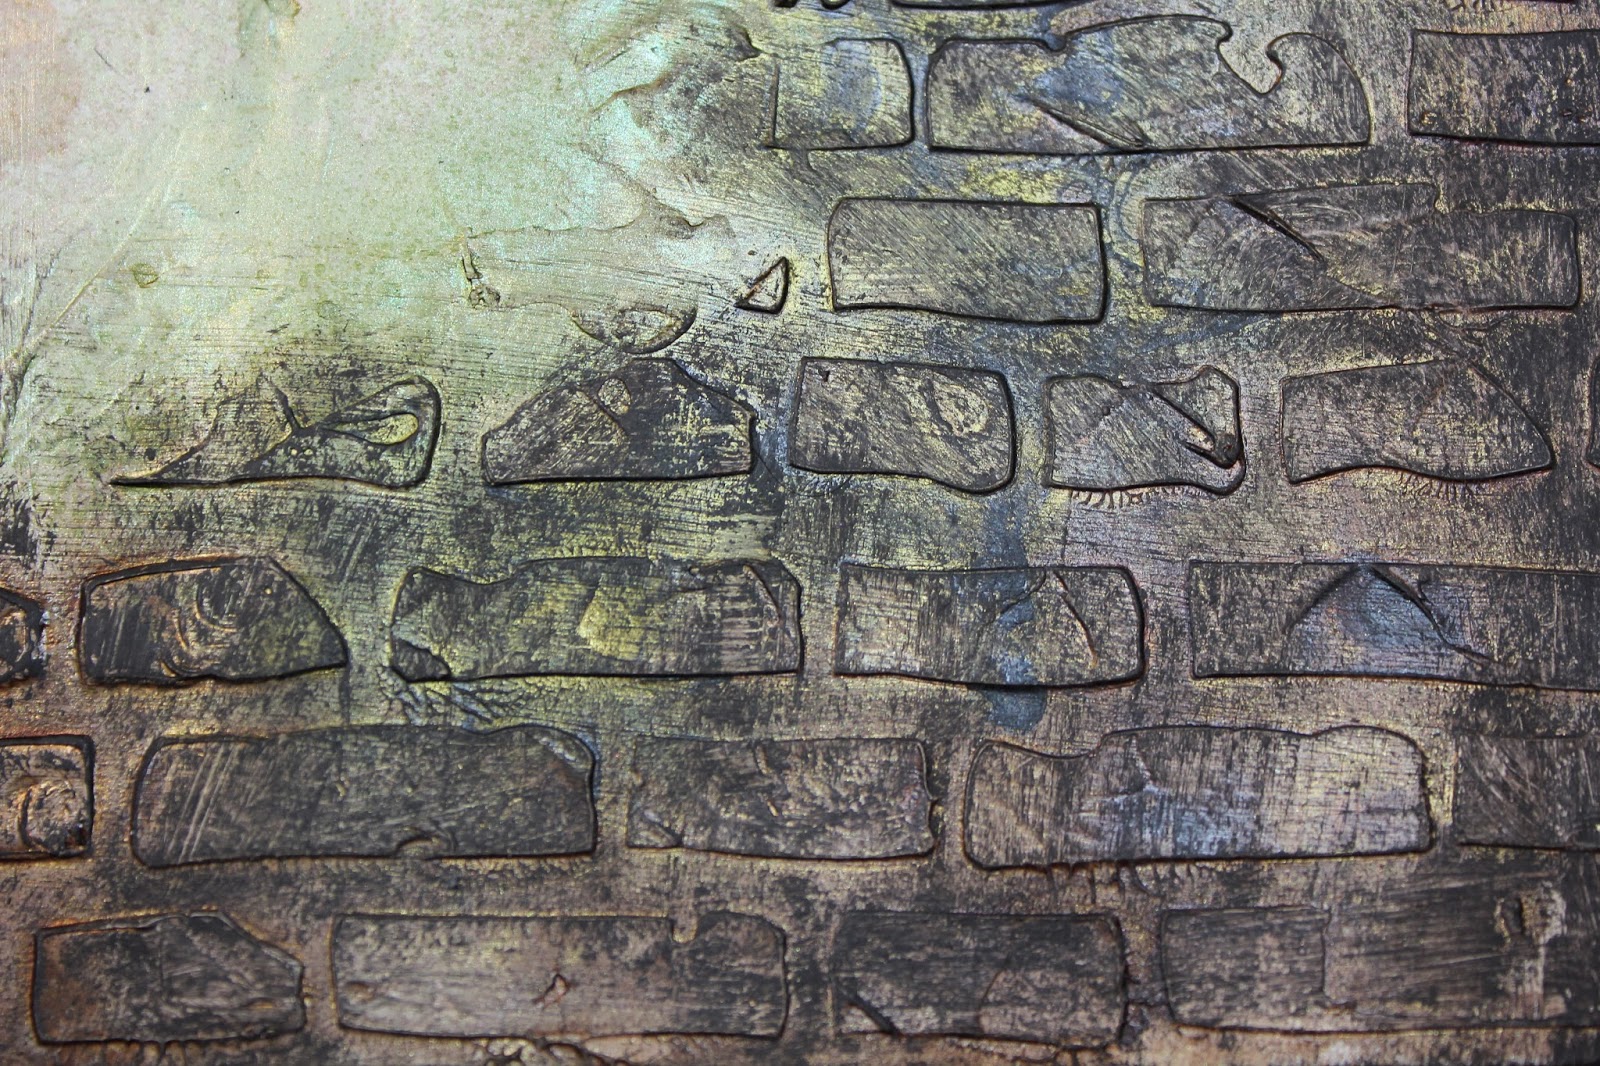
This spread in my Dylusions Art Journal was inspired by Donna Downey. She worked with a lot of texture too and used that dark area as a backdrop for an image. To me it depicts a doorway. I set out making this page by using a stone stencil and texture paste after which I filled in the remaining area's with an Antique effect texture paste.
The doorway was made with a darkbrown acrylic paint with some black added in orde to make it even darker. I didn't mix in the black all the way, in order to get some variation in colour to add some interest instead of making a dark 'hole' in the wall.
I diluted some of the leftover acrylic paint from the doorway and let it drip from the side of the right page, hoping to create the illusion of branches accross the page. I needed that to 'hang' my birdcage stamp on. To bring back a little of the pink colour of the flowers on that lady I stamped a little heart and coloured that pink with a Copic marker before gluing it down.
In the middle of the spread accross the two pages, I tried to make the illusion of a tree by scraping my palet knife through the texture paste. When spraying the Glimmer mist, the ink gathered in the 'branches' of the tree, thus enhancing the tree.
Apart from various beige and brown sprays, I used two green sprays to give the illusion of the wall being overgrown with moss, but it also gave me the opportunity to let the green from the lady's dress come back on the pages. In orde to make the brick wall look dirty and old, I used some of the brown doorway paint and a nearly dry brush.
This last picture shows off the glimmer very nicely, which is fortunate, because most of the time it is nearly impossible to catch that in a picture.
Now let's see if we can get this puppy joined in some challenges. Have a great weekend everyone, hugs Frea
Challenges:
http://stampotiquedesignerschallenge.blogspot.nl/2014/02/sdc-february-2014-challenge-links.html
http://4kraftygirlzchallenges.blogspot.co.uk/
http://www.baffies-kreativladen.blogspot.nl/2014/02/challenge-28-februar-dt-call.html
http://papertakeweekly.blogspot.nl/2014/02/with-heart.html
http://shoppingourstash.blogspot.nl/2014/02/sos-138-oh-shiny.html
http://www.ttcrd.blogspot.nl/2014/02/ttcrd-challenge-feb-11th-feb-17th.html
http://rheddscreativespirit.blogspot.co.uk/2014/02/february-challenge.html

woensdag 29 mei 2013

Forest Fairies & don't forget my candy ladies!!!

Before I start this new post, I just want to remind you of my yummy candy ladies! Who can resist that gorgeous art journal and some more fabby mixed media stuff! Just click this link http://messymixedmediabyfrea.blogspot.nl/2013/05/40-followers-candy.html and it will take you straight there.
Right, now on to my latest pages, and how about you, do you believe in fairies, well I do!! This page has loads and loads of techniques, and I do hope the pictures do it justice because in real life the texture is just gorgeous. Now for starters I used this new stuff I got called Paper Perfect by Deco Art. In the jar contains something that looks like wet paper mass, it comes in several colours but I have the cremecolour because I knew I wanted to colour it myself.
I put it on the page with a spatula and it gave a brilliant texture. If you add a layer to a craft sheet and let it dry, you can pull it off and it will give you a sheet of handmade paper. After drying I smeared matte gel medium over the paper texture in order to seal it. I had tried it out on a piece of test paper, and found it totally absorbed the Glimmer Mist spray, taking away both colour and glimmer. The gel medium made all the difference, this picture shows a little of the gorgeous effect of the spray. I used Old Lace, Sweet Clover, Olive Vine and Suede. I tilted the art journal in order to let the Glimmer Mist drip down the page from the bottom up. That was the moment I thought it started to look like a forest and the idea of the fairies popped into my head.
I printed out two digital fairy stamps I have, no idea what brand they are, I think they were called Crystal Fairies. I coloured them with Copics, and added Stickles Frosted Lace to her wings and sprinkled transparant glass beads on these wings when the Stickles was still wet.
 

I started placing the fairies on the page but there was still something missing, so I took out my pastel crayongs (the same ones that are in my candy), and started drawing mushrooms on my page. I just love the way how they turned out, the pastel blends brilliantly. When hinished I sprayed them with a spray fixative after which I added a pattern to the green one with a black permanent marker.
I placed one fairy on top of one of the mushrooms, using it as a chair, the other on a set in front of a large mushroom which created a lot of depth in the picture. I then set off looking for a nice fairy quote and I actually found two I really liked, and which combined perfectly with each other, there both from Peter Pan.
  
So, here's a picture of the total spread:
And here's a picture of the Copics, Spectrum Noir and Promarkers I used for colouring the fairies.
Sorry about the long post, I just wanted to explain to you how I made these pages. Can't wait to hear your opinions!!!! Have a great day, Frea

Hallo Dames, hier de Nederlandse vertaling. Voordat ik begin, vergeet vooral mijn candy niet, ik hoop natuurlijk op heel veel deelnemers! Klik hier op de link en je wordt er meteen naartoe geleid. http://messymixedmediabyfrea.blogspot.nl/2013/05/40-followers-candy.html
Deze pagina's heb ik gemaakt in mijn Donna Downey album (dezelfde die ook in de candy zit). Ik ben begonnen met iets nieuws dat ik een tijdje geleden had gekocht. Het heet Paper Perfect van Deco Art. Het lijkt een beetje op papier maché, een soort papierprutje zal ik maar zeggen haha. Het is beschikbaar in meerdere kleuren, maar ik heb 'm in creme gekocht omdat ik het zelf wilde kleuren. Na droging had ik een prachtige textuur op de pagina's. Op een proefstukje heb ik Glimmer Mist erop gespoten, maar het bleek veel te absorberend en de kleur en glans van de G.M. verdween totaal. Daarom heb ik er matte gel medium overheen gestreken en toen werkte het perfect. Op de 1e foto is de glans en kleur goed te zien. Ik heb de G.M. ook een beetje over de pagina's laten druipen. De kleuren die ik heb gebruikt zijn Old Lace, Sweet Clover, Olive Vine and Suede. Toen dat klaar was kreeg ik echt een 'bosgevoel' en kwam het idee van de elfjes op. Die had ik als digitale stempels en heb ik uitgeprint en ingekleurd met Copics, Spectrum Noir en Promarkers. Nadat ik wat had geschoven met de elfjes op de pagina besloot ik er met pastel krijt (de set die ook in de candy zit), paddestoelen te gaan tekenen op de pagina's. Heerlijk hoe die blenden, je kunt de kleuren zo mooi over laten lopen. Ik heb ze met een fixeer spuitbus gefixeerd en toen op de groene paddestoel met een zwarte permanente viltstift een patroontje getekend. Toen de elfjes opgeplakt en op zoek gegaan naar een leuk elfjes citaat. Ik vond er twee waarvan ik vond dat ze prima met elkaar combineerden, ze komen allebei uit Peter Pan. Nou, dat was 'm wel zo'n beetje. Ik ben natuurlijk weer zéér benieuwd wat jullie ervan vinden. Fijne dag nog, groetjes Frea
Challenges: 
http://anythingchallenge.blogspot.nl/2013/05/challenge-93-handmade-backgrounds.html
http://celebratetheoccasion.blogspot.nl/2013/05/challenge-114.html
http://www.craftdoormagazine.com/2013/05/throught-craft-room-door-challenge-may.html
http://www.ladyanneschallenges.com/4/post/2013/05/4th-anything-goes-challenge.html
http://papermakeupstamps.blogspot.nl/2013/05/digi-makeover-challenge-90-anything-goes.html
http://eurekastamps.blogspot.nl/2013/05/challenge-41-great-outdoors.html
http://fitztownchallengeblog.blogspot.nl/2013/05/challenge-01-anything-goes.html
http://kaboodledoodles.blogspot.nl/2013/05/challenge-173-anything-goes.htmlhttp://challenges4everybody.blogspot.co.uk/2013/05/challenge-21-anything-goes.html
http://avenue613.blogspot.nl/2013/05/challenge-21-anything-goes.html
http://ppp-makeitmonday.blogspot.nl/2013/05/mim-142-with-stampart-design-by-kathryne.html
http://www.simonsaysstampandshow.blogspot.de/2013/05/challenge-into-woods.html


vrijdag 17 mei 2013

A canvas and I need your opinion, does it need a quote??

Hi girls, I wanted to share this canvas with you, but I also need your opinion; I'm in doubt whether or not to give it a quote. I was thinking on: You don't know how far you can fly, until you spread your wings. I really appreciate you thinking along with me.
So, here's how I started. After gessoing my canvas I glued down pieces of Tim Holtz tissue tape, some lace, doilies and string, and I stamped some background stamps with Stazon black. Then I smeared some crackle medium here and there on the canvas.
I started with a creamcoloured acrylic paint which I diluted slightly, and then covered the crackle medium with a taupe coloured acrylic paint. Then, using my fingers, I added some turqoise paint and found it too harsh, so I smeared some pearlescent acrylic medium which helped. 
Then I took some Glimmer Mist Walnut Gold and Suede; just love Glimmer Mist, the soft vintage looking colours and the gorgoeus shimmer. I hope to get that on camera, but as you know that is pretty hard. I used Tattered Angels stencils with the Glimmer Mist to make the birds and dragonflies.
After the paint dried completely, I added some more texture with texture past which I coloured with a darkbrown acrylic paint. I used a Crafters Workshop template called Mini Tile Texture. In all the loops I glued some embelishments, just to give it an accent.
 Here are two detailpictures where I tried to capture the Glimmer Mist, don't know if it worked....
So, now back to my question: what do you'll think: quote, or no quote?? Help me out here girls!
Challenges:
http://simplycreatetoo.blogspot.nl/2013/05/challenge-37-anything-goes.html
http://asimplefive.blogspot.nl/2013/05/inspire-me-fridays-103-anything-goes.html
http://wagsnwhiskersrubberstamps.blogspot.nl/2013/05/challenge-104-anything-goes.html
http://craftingmusketeers.blogspot.co.uk/2013/05/welcome-to-our-1st-challenge.html
http://kreativeinkauf-challenge.blogspot.de/2013/05/kreativeinkauf-challenge-3-1505-1406.html
http://natalieandamy.blogspot.co.uk/2013/04/challenge-9-things-with-wings.html
http://stamp-n-doodle.blogspot.co.uk/2013/05/stamp-n-doodle-challenge-15th-may.html
http://happycamperscc.blogspot.co.uk/2013/05/happy-campers-challenge-no16-use-lace.html
http://thepapershelter.blogspot.nl/2013/05/challenge-112-anything-goes.html